Trusted Cleaning Services Winnipeg: Making Your Room Sparkle

Deck Discoloration Made Easy: Step-by-Step Guide for DIY Fanatics


Are you a DIY fanatic looking to provide your deck a fresh makeover? Look no more! In this detailed guide, we will walk you through the process of deck discoloration. From preparing the surface area to applying the discolor, we've got you covered. With our easy-to-follow guidelines, you'll have the ability to change your deck right into a beautiful outdoor area in a snap. So order your devices and allow's get going!


Preparing the Deck Surface Area


Prior to you begin tarnishing the deck, make certain you're correctly cleaning up and also fining sand the surface area. Utilize a power washer or a hose with a high-pressure nozzle to extensively cleanse the deck. Pay close focus to areas with stubborn stains or mold and mildew, and use a deck cleaner or a mixture of warm water and mild detergent to treat them.


Once the deck is completely dry, it's time to sand the surface. Get a portable orbital sander or a sanding block, and also start fining sand the deck boards in the direction of the wood grain. This will help eliminate any rough spots, splinters, or old tarnish (fence staining). Be certain to put on safety safety glasses and a dirt mask to prevent any type of eye or respiratory system irritability. Proceed fining sand up until the whole deck surface really feels smooth to the touch.


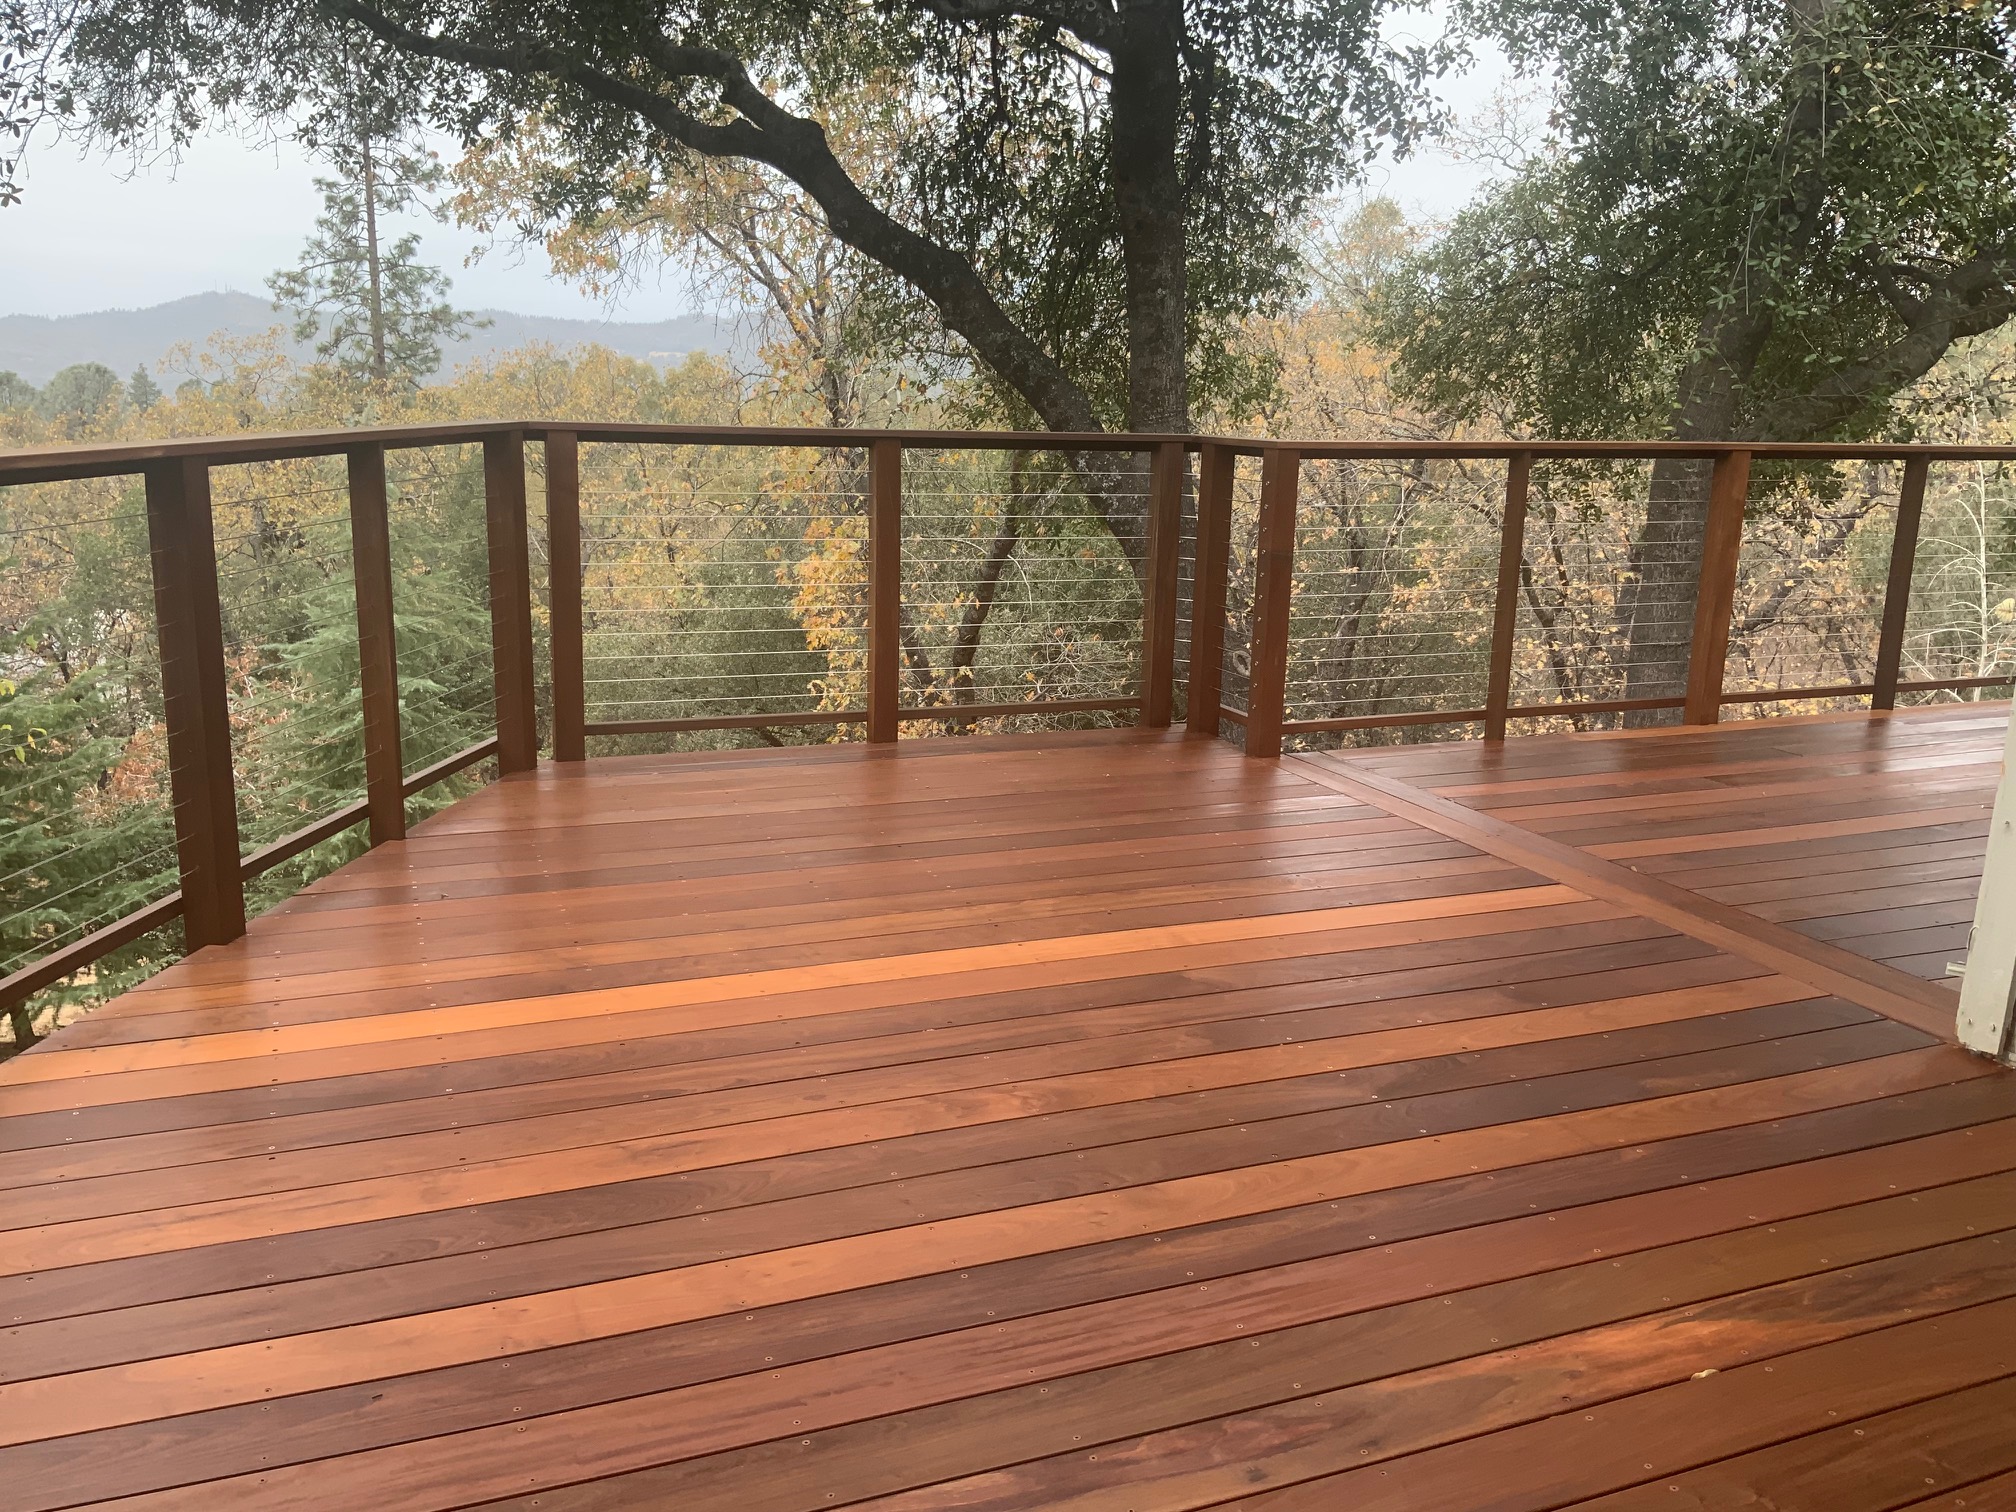
Picking the Right Stain


When choosing the appropriate tarnish, you'll desire to take into consideration the kind of timber you're working with. Different sorts of wood have different characteristics that can influence how well they soak up the tarnish. Softwoods, like yearn or cedar, tend to take in tarnish quicker than woods, such as oak or mahogany. Keep this in mind when selecting your discolor to guarantee you attain the wanted surface.


Discolorations come in a variety of shades, from light to dark, as well as can significantly transform the look of your deck. If you're looking to boost the natural color of the wood, choose a clear or semi-transparent stain.


Finally, assume about the level of security you desire for your deck. Discolorations with higher levels of pigment have a tendency to provide better security versus UV rays as well as wetness. If your deck is subjected to rough weather conditions, it's worth buying a discolor with included safety high qualities.


Cleansing and also Fixing the Deck


Mccoys Pressure Washing And Deck StainingDeck Staining Nashville
To cleanse and fix your deck, you'll require to collect the required tools as well as materials. First, get a broom or leaf blower to get rid of any kind of loose particles such as leaves, dust, as her latest blog well as twigs. Next off, inspect the deck for any type of harmed or rotten boards. If you find any, make certain to have replacement boards handy, along with a round saw and also a power drill for the repair. In addition, you'll need a deck cleaner remedy, a scrub brush, as well as a stress Visit Your URL washing machine to eliminate dust, mildew, and also spots. Do not neglect to put on safety eyewear, gloves, as well as apparel while working. As soon as you have every little thing all set, begin by brushing up the deck completely, taking notice of the edges as well as sides. Mix the deck cleaner remedy as per the supplier's directions as well as use it generously to the surface. Make use of the scrub brush to upset the service as well as loosen any grime. After allowing it rest for a couple of mins, wash the deck with a stress washing machine, functioning in a sweeping activity. Be careful not to apply excessive stress as it might harm the wood. Lastly, enable the deck to dry entirely before proceeding to the following action.


Applying the Stain


Deck StainingDeck Staining Near Me
Now that you've ended up cleansing as well as repairing, it's time to use the discolor to your deck. This is the amazing part where you reach see your hard work revived. Beginning by picking the appropriate tarnish for your deck. Take into consideration the color and kind of timber you have. Make sure to check out the directions on the tarnish can to guarantee you use it correctly. Before you start, shield nearby plants and surface areas from any type of potential drips or spills by using a ground cloth or plastic bed linen. Currently, get a paintbrush or roller, and begin applying the discolor in smooth, also strokes. Job in tiny areas, adhering to the grain of the wood. Don't forget to discolor the sides and also corners of your deck too. As you go, make certain to eliminate any type of excess tarnish to avoid a blotchy coating. Allow the initial coat to dry completely before applying a second layer if desired. As soon as you're done, allow the stain remedy according to the manufacturer's guidelines before relocating any furnishings or plants back onto your beautiful, recently discolored deck.


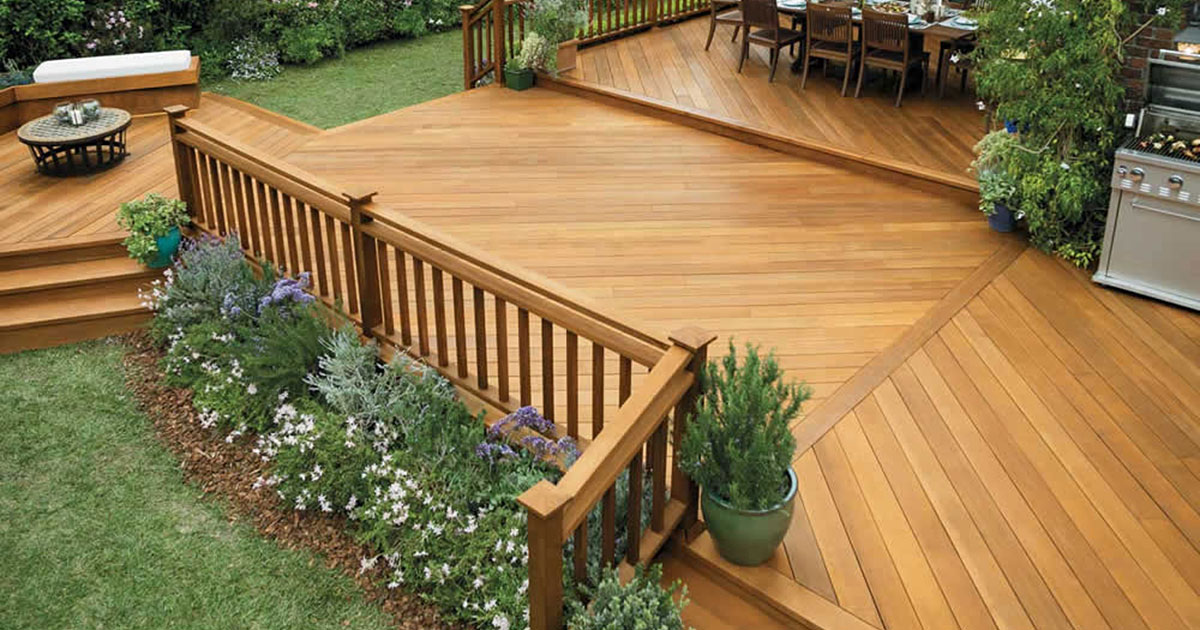
Finishing Touches and Upkeep Tips


After using the final coat of tarnish, it's crucial to regularly tidy and seal your deck to preserve its elegance as well as safeguard it from the components. Select a premium sealer that is specifically created for decks and also apply it according to the manufacturer's guidelines. It's suggested to use a brand-new layer of sealer every 1-2 years to maintain your deck looking its best.


Verdict


Fence StainingDeck Staining Near Me
In conclusion, go to this web-site you have found out how to make deck discoloring a very easy job for DIY enthusiasts. By following the step-by-step overview, you can prepare the deck surface, pick the appropriate stain, clean as well as repair the deck, as well as use the discolor effectively. Do not forget the complements and upkeep tips to guarantee your deck remains beautiful and shielded for several years ahead. With these methods, you'll be able to appreciate a magnificent deck that boosts the total look of your outdoor room. Pleased staining!

Leave a Reply

Your email address will not be published. Required fields are marked *